Published July 20, 2020 02:36AM
Stay on course with gravel race navigation prep
Gravel races take us far off the beaten path, but you shouldn’t have to feel like you’re one turn from lost.
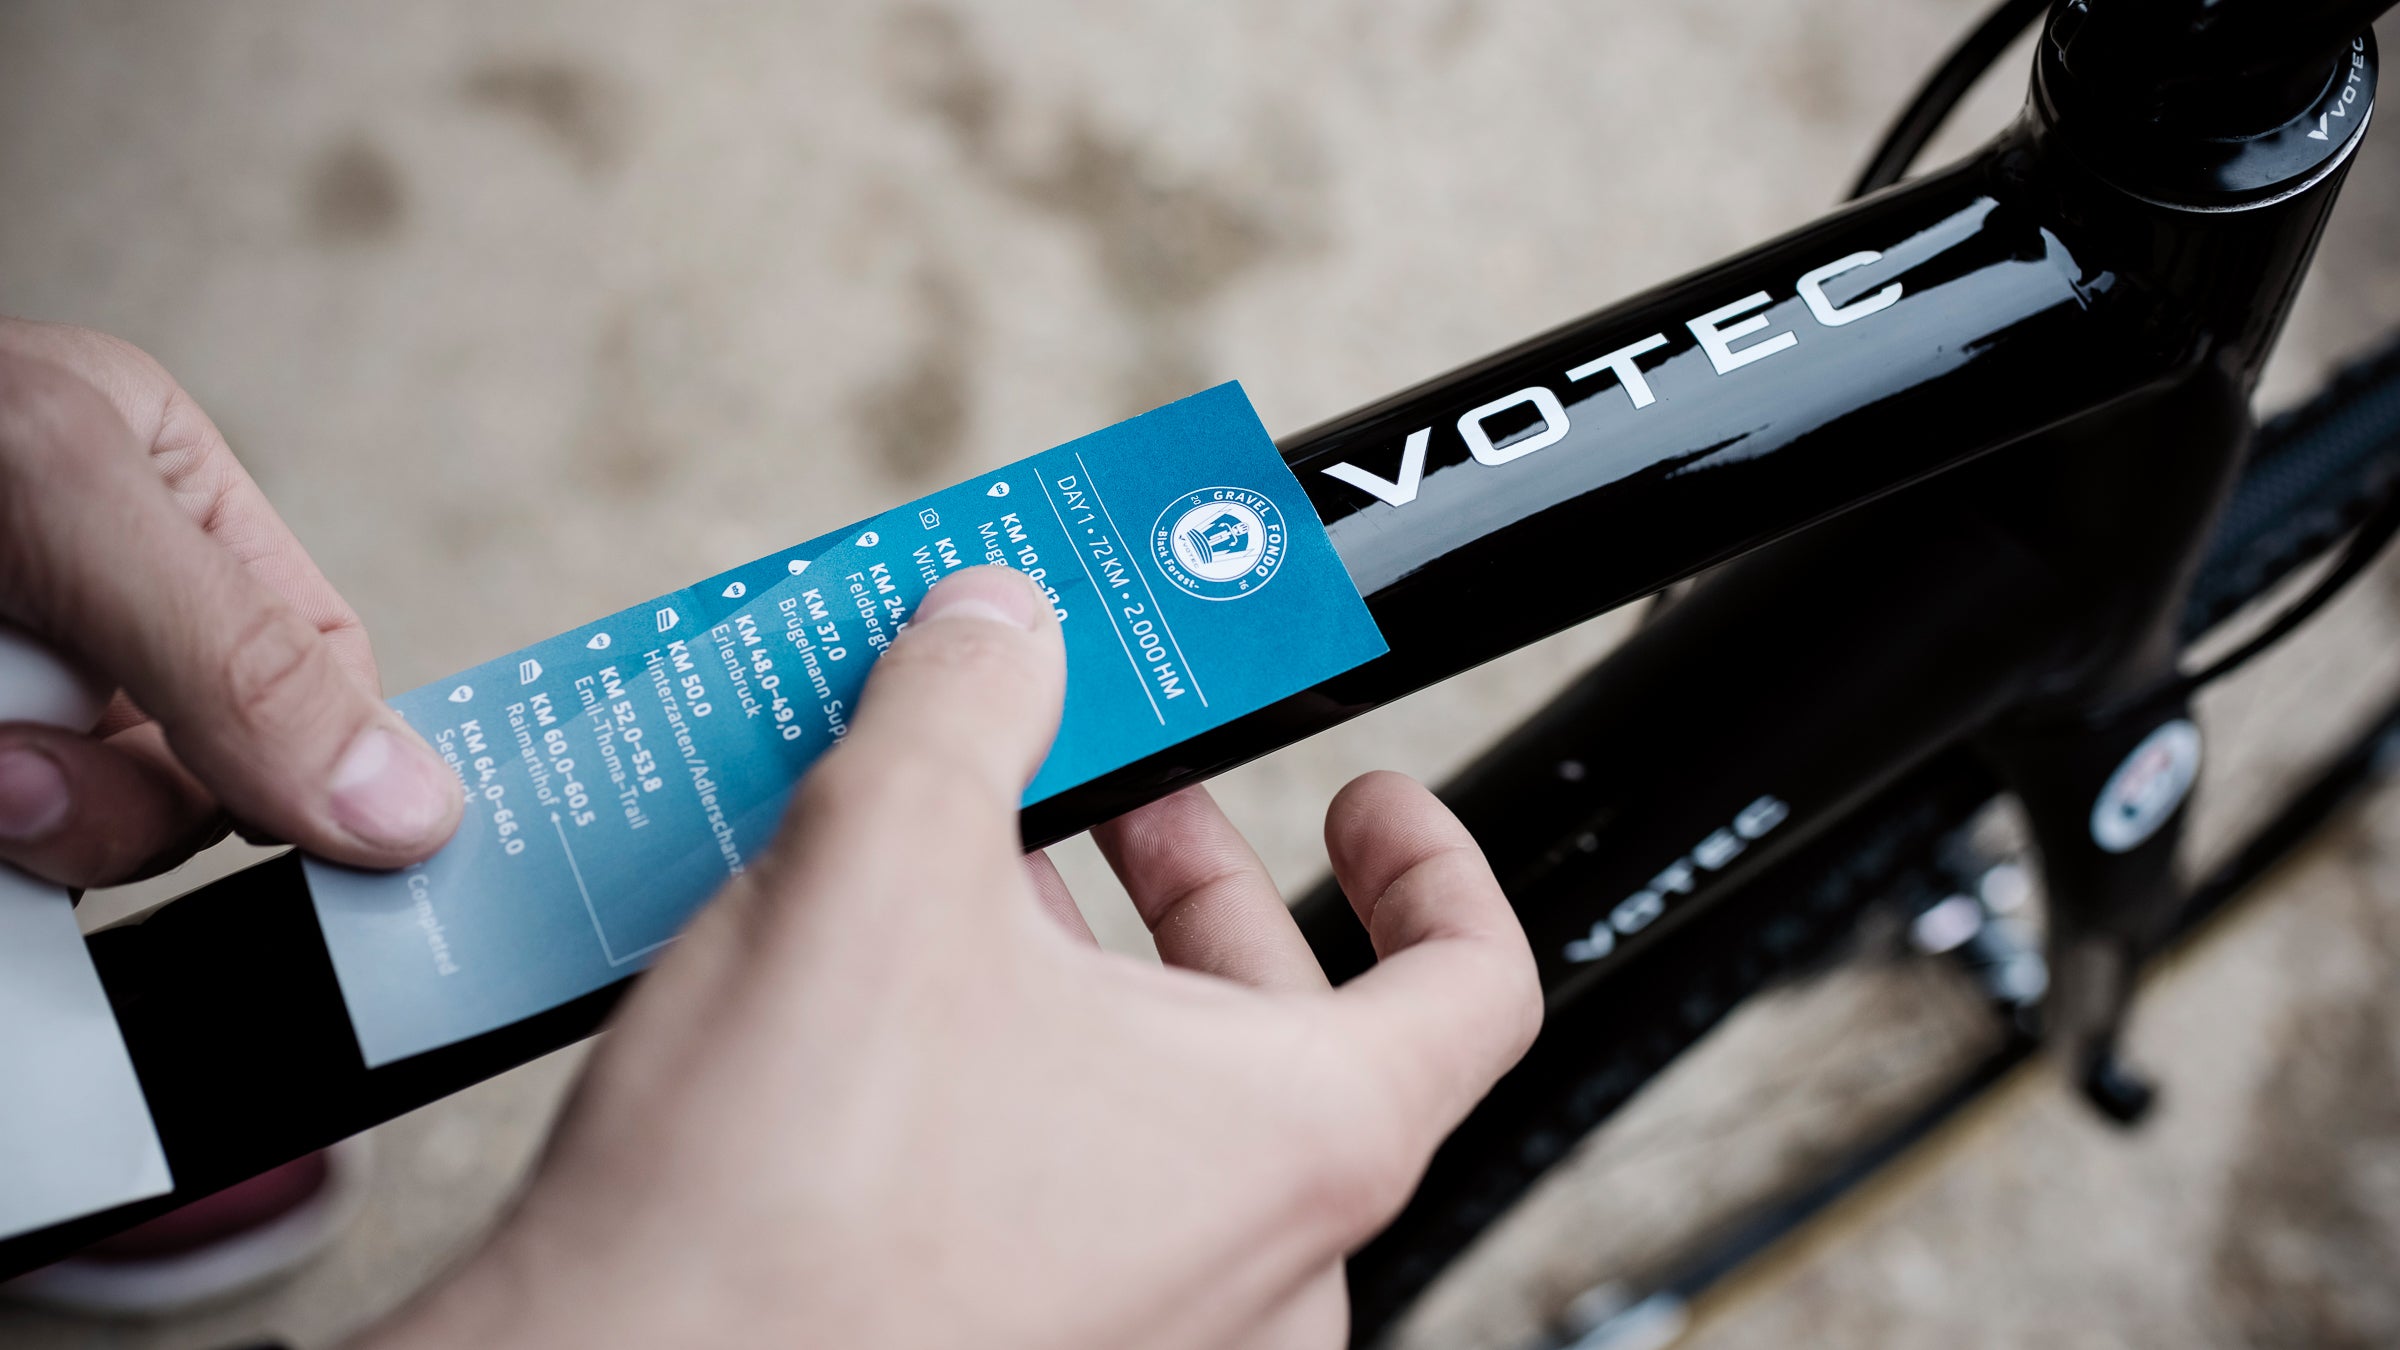
The top tube’s a useful place for a stick-on cuesheet, whether homemade or supplied by the race. Photo: Courtesy VOTEC Gravel Fondo
Some promoters carefully mark the entire course with signs, stakes, and spray paint. They may include maps of the course in your race packet. Some will upload a GPX file, an open-format electronic file that shows waypoints, tracks, and routes, and can be installed on a GPS device, thus offering turn-by-turn directions. Modern GPS computers from Garmin, Wahoo, Lezyne, and others offer this feature on their more expensive models. You’ll need to use the manufacturer’s software, be it Garmin’s BaseCamp or Wahoo’s in-phone application, to upload the navigation file to your device.
Other promoters offer cue sheets—written turn-by-turn directions—requiring riders to remain acutely aware of their location on the course at all times. Some race promoters offer only the first set of cue sheets, which describe directions to the first checkpoint. Once a racer completes that first section of the course in the allotted time, he or she then receives the next set of cues to the next checkpoint. And so on goes the race. This complicates the affair quite a lot, as it means that you don’t know how long you’ll go in a particular direction, perhaps while dealing with a headwind. Metering one’s effort becomes tough to assess. It’s all part of the joy of racing this sort of event!
In any case, you’ll want to make sure that you have either a GPS unit or a calibrated cycling computer on your bike. Measuring distance is a big part of navigation. If you can’t do that reliably, it’s hard to stay on any course.
Course Marking
If the event you’ve signed up for will have a marked course, be sure to find out what those markings will be. In some cases, wooden stakes with ribbons will mark a turn. A stake on the right side of the road means turn right. A stake on the left means turn left. No stake? Carry on going straight ahead. Often a confirmation stake after a corner will let you know that you went the right way.
ADVERTISEMENT
Some race organizers spend the money to make signs with arrows that they’ll place on the course. Especially in races with several distance options, signs will mark where courses diverge. Pay close attention to pre-race briefings. It’s okay to take notes. The act of writing something down can help you remember it, even if you don’t attach the note to your bike.
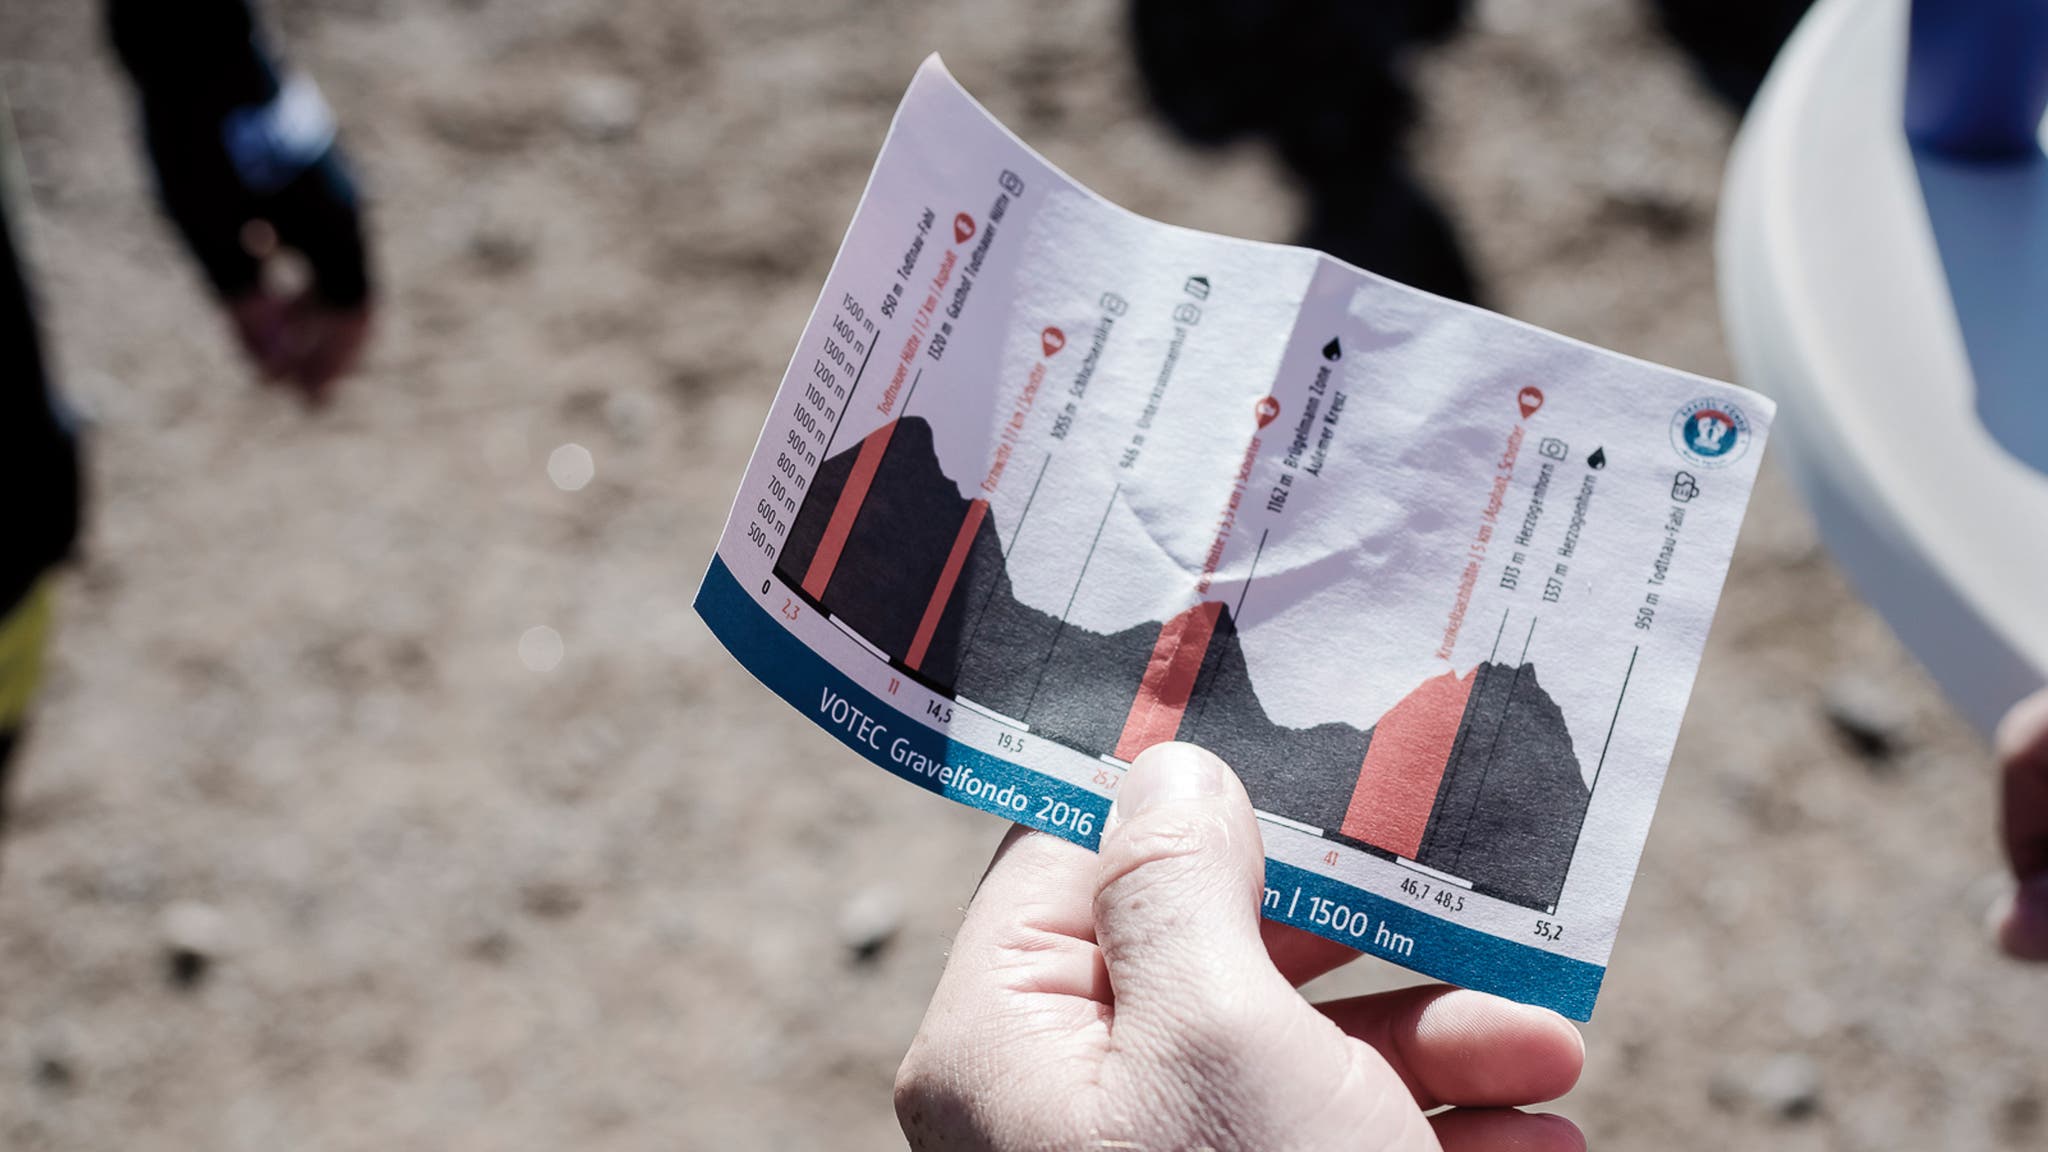
Maps
If an event doesn’t have a marked course but provides a course map, you’ll want to have an easy way to look at the map to verify you’re on course. Ideally, your map holder should be somewhat waterproof, as creek crossings and rain can make some printed maps run, rendering them useless. The simplest solution is to put the map in a plastic bag. SealLine and Aloksak both offer great map cases that will last longer than Ziploc-type bags. Check camping stores for clear map cases too.
Then you’ll need a way of clipping that map to your bars. Look to touring cyclists for advice here. CueClip makes a set of clips that are installed using Velcro loops. These are an especially versatile way to clamp your notes and maps; they work on drop bars, flat bars, and aerobars.
ADVERTISEMENT
Some racers make their own map holders using sheets of plastic, office supply binder clips made for large stacks of paper, and zip ties to hold them in place. As with nutrition, it’s best to experiment with your chosen navigation system in training.
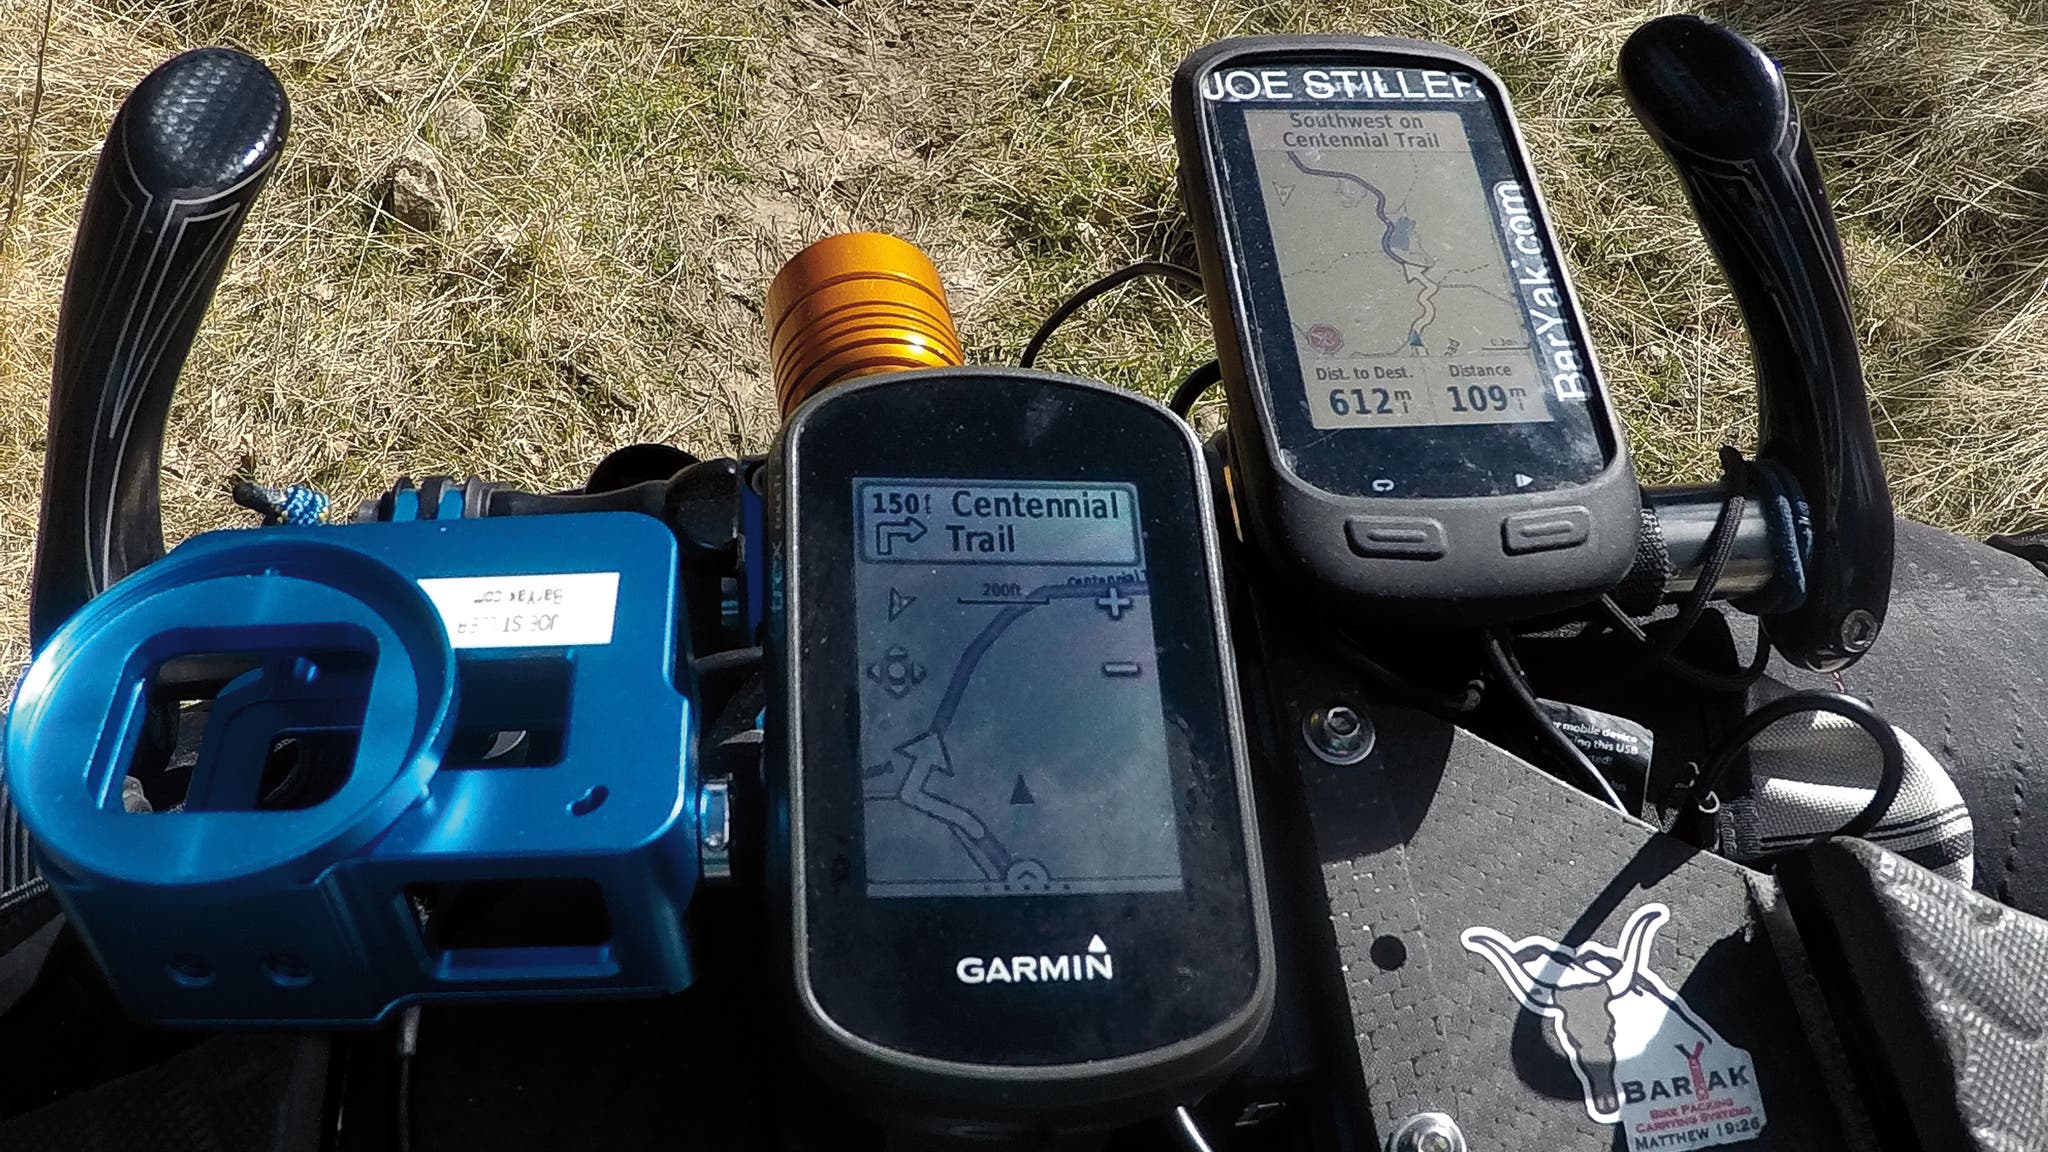
GPX Files
If you’re going to use a GPX file and a GPS to make your way around a course, be sure to familiarize yourself with how to load a track onto your device and then use it to navigate. Race day is not the best time to power up everything for the first time. Personally, I prefer to switch off the turn-by-turn warnings and stick with an onscreen track.
I then turn on the “off course” alarm so that I’m alerted if I make a wrong turn but don’t hear the constant beeping that indicates approaching turns. But that’s my preference. Figure out what works best for you.
Cue Sheets
As with maps, if you’ll be required to follow a set of cue sheets, you’ll want to make sure you have some practice using the system you develop. A cue sheet holder can often be smaller than a map holder. A way to change cues quickly is also handy. Again, office supply binder clips are useful. If you prefer to buy something readymade, Banjo Brothers offers a cue sheet holder made for cycling.
ADVERTISEMENT
You’ll want to be extra sure that your cycling computer, if you’re using one, is calibrated and accurate when navigating with cue sheets. If you’re using a GPS to measure the miles you cover, you should be in good shape, as they typically display distances accurate enough for cue sheet navigation.
Focus is required when racing or riding via cue sheet navigation. You can’t afford to lose track of where you are or what’s ahead. If you do make a mistake, you’ll add the headache of having to do continual math to align the distance on your computer with the cue sheet indications. Many people use online route-building sites like Ride with GPS to design rides in their area. This site can output cue sheets. Use these to practice your navigational skills and on-bike system. Best of luck out there!
Adapted from Gravel Cycling:The Complete Guide to Gravel Racing and Adventure Bikepacking by Nick Legan with permission of VeloPress.