Published December 21, 2018 11:03AM
How to set up your indoor training arsenal to take full advantage of Zwift
Here's how to log miles this winter on your indoor trainer and have fun while you're doing it.
There are those hardy cyclists who love to ride outdoors during the cold, harsh winter months. And then there are the rest of us.
Thanks to the virtual riding community Zwift, riding indoors is no longer a tedious, mind-numbing chore. In fact, it’s quite fun.
You’ve likely heard or read about Zwift’s innovative video-game-like setup. You pedal along a virtual tarmac, over challenging and fun terrain alongside other riders from across the globe. The virtual world encourages you to ride longer — and often with more intensity — than you would normally do on a trainer. No stop lights, no cars, no flat tires. Just the fun part.
The cornerstone of your Zwift setup is a smart trainer — a trainer that can feed your training data to an iOS or Android smartphone, PC or Mac, tablet, or even Apple TV.
The cornerstone of your Zwift setup is a smart trainer — a trainer that can feed your training data to an iOS or Android smartphone, PC or Mac, tablet, or even Apple TV.
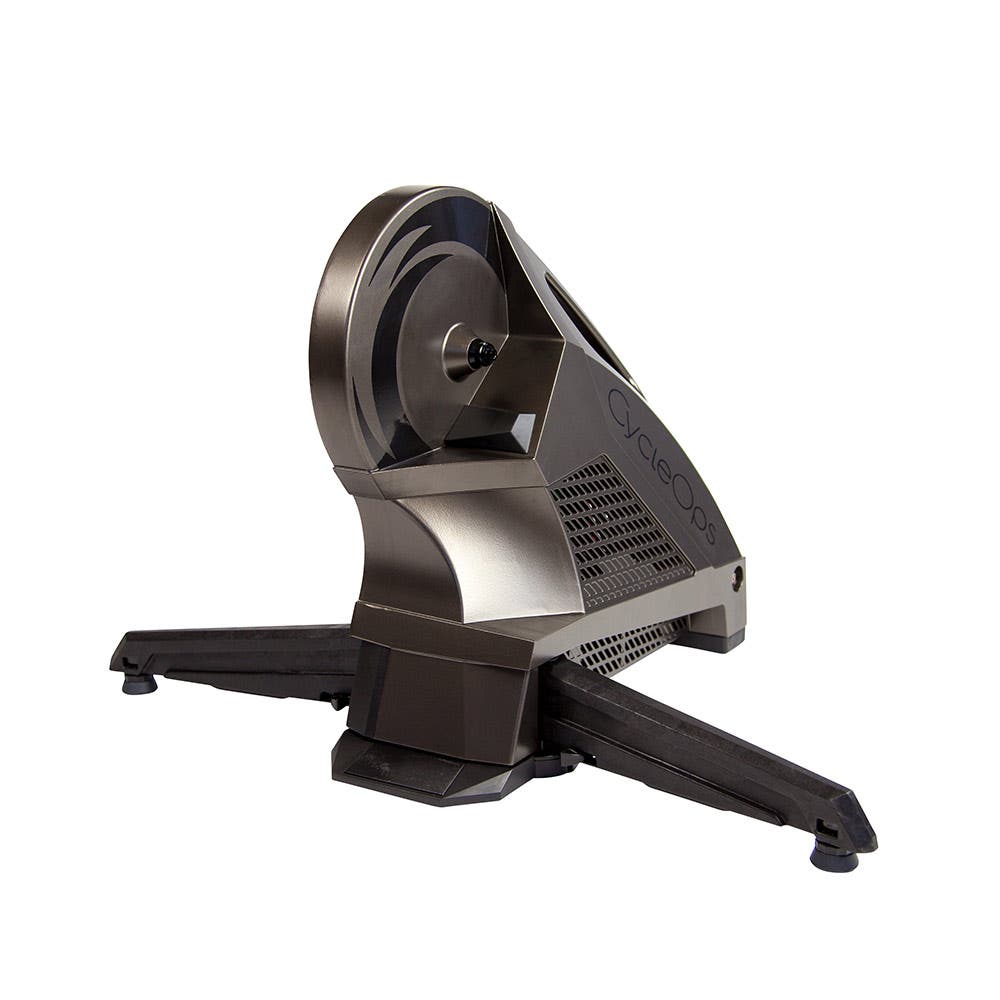
Smart trainers offer the best combination of top-notch tech and hassle-free setup. Zwift even has a certification process called Zwift Certified that helps you choose the best smart trainers on the market. They’re all listed in the Zwift shop. CycleOps’s H2 smart trainer, for example, comes with just about everything you need to get rolling straight away on Zwift. It’s easy to set up and accommodates both quick release and thru-axles. It also features integrated cadence, speed, and power data, so there’s no need to invest in additional peripherals and sensors, aside from a heart rate monitor.
Wahoo’s Kickr is another strong option, as is the modestly-priced Kickr Core. Both are compatible with a host of peripheral Wahoo devices like the Kickr Headwind and Kickr Climb, both of which enhance your riding experience.
Whichever trainer you choose, be sure it is Bluetooth-enabled as well at ANT+ FE-C capable. This means you’ll be able to connect to Zwift quickly and securely and take full advantage of its host of features, on just about any device. Keep in mind you’ll need an ANT+ dongle to connect to a PC or Mac (though some computers are Bluetooth-capable, so you will still have this option to connect). Most iOS and Apple TV users won’t have to worry about the ANT+ dongle, because you can connect via Bluetooth.
ADVERTISEMENT
And that’s all you need to get going. You’ve got everything you need with just a smart trainer.
Want to learn more about smart trainers? Be sure to check out the VeloNews Fast Talk Podcast, episode 60: Rethinking the Science of Trainers with Ciarian O’Grady.
On to the fun stuff: Zwift
Zwift’s virtual environment allows you to tailor your indoor riding experience. Want to race? You can do that. Want to stick to a training plan? Yep, that’s an option. Just want to go out for a ride? No problem. Zwift is all about you.
After you set up your physical space with your trainer, computer, and ANT+ dongle (if you’re not connecting to your device via Bluetooth), create a Zwift profile. Log in to Zwift.com, the desktop app, or the Zwift Companion mobile app. Upload a profile photo, set your height, weight, and birthday, and other relevant information.
When you start the desktop or mobile app, you will be prompted to pair your sensors. Just tap the “pair” button underneath the appropriate device. Start by pairing your smart trainer; use ANT+ FE-C or Bluetooth.
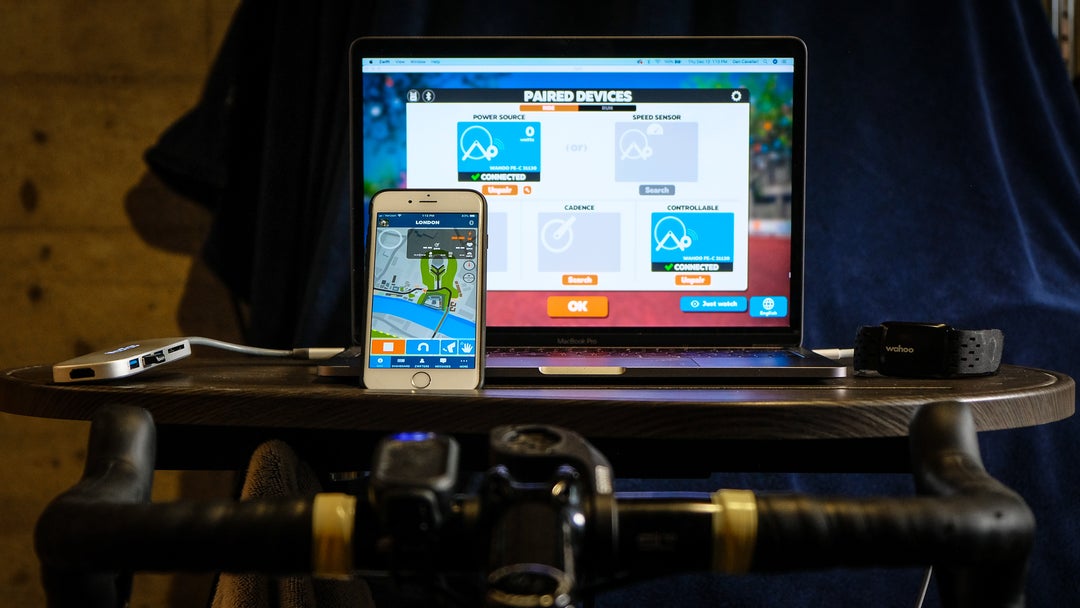
From there, pair your power meter, heart rate monitor, and cadence sensor. The more sensors you pair, the more data you’ll end up with during and after your ride. This will give you a true sense of the effort you put in, and it will help guide you through any structured workouts you choose.
ADVERTISEMENT
Now you can customize your Zwift avatar. Go to the app menu to change your kit, bike, and even your skin tone and hair. As you ride more and more in the Zwift world and accumulate points (indicated by XP), you’ll unlock even more options to make your avatar stylish on screen.
Now that you’ve got yourself squared away, it’s time to join the party. Choose what kind of ride you want to have: a structured workout, a group ride, or just an unstructured spin. Then hit “ride” and start pedaling.
There are several Zwift courses, including New York City, London, Richmond, Innsbruck, and of course, Watopia. The monthly Zwift calendar decides which course you ride, so check the updates to get information on courses. All riders across the globe pedal along on the same course, and you can plot out your ride schedule so you’re always on your favorite courses.
You’ll notice your smart trainer’s resistance will change based on various factors within the Zwift environment, including grade changes and even drafting behind other riders. It’s all part of the Zwift experience, and you can enhance that realism with accessories like Wahoo’s Kickr Climb (which only works with select Wahoo trainers). The Neo 2 Smart trainer from Tacx can even simulate the feel of cobbles, dirt roads, and smooth blacktop.
ADVERTISEMENT
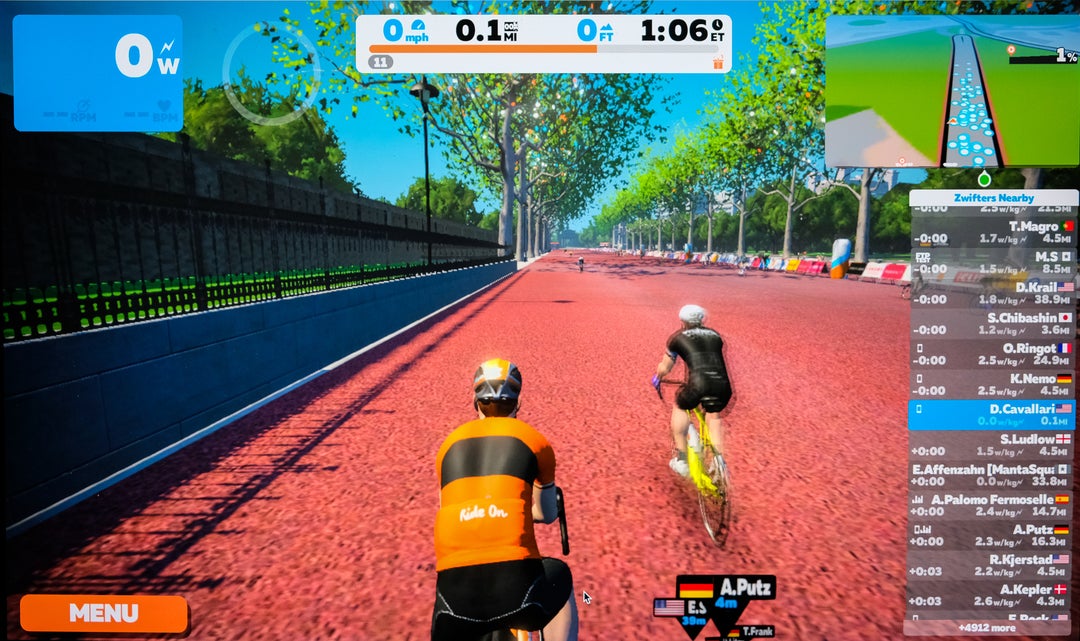
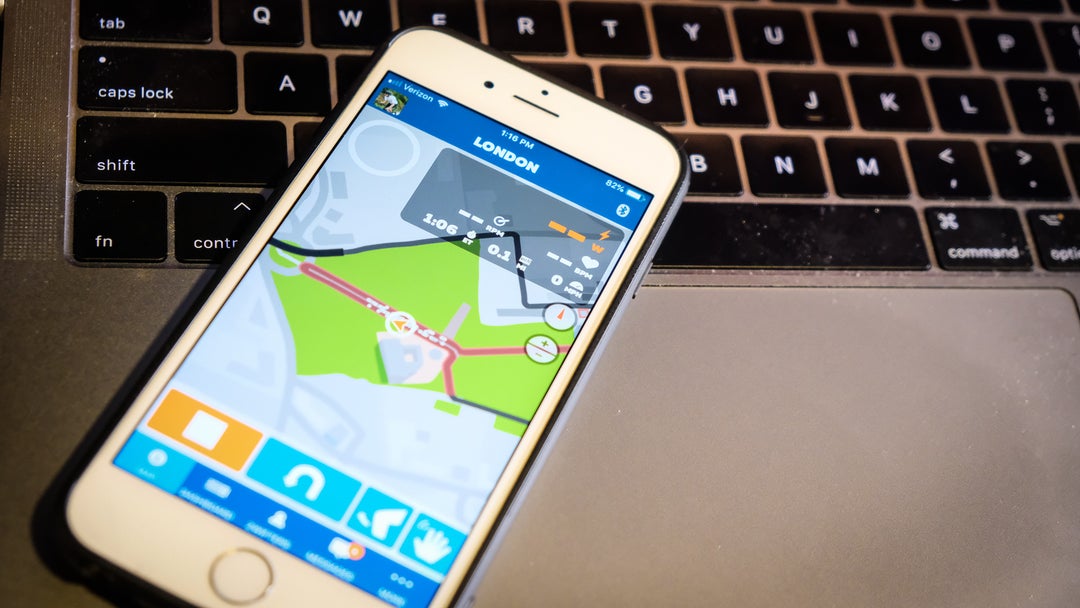
As you ride, you’ll also notice a nearly overwhelming amount of neat features on screen, but fear not: They’re all easy to use, or ignore if you simply want to enjoy the ride. The most important bit of information lives at the top of the screen, where you’ll get the basics including your speed, elapsed miles, elapsed time, and elevation gain.
On the right side of the screen, you’ll find a list of other Zwift riders near you. There’s lots of information here to give you a sense of who you’re riding with (or against!). It’s also where you’ll notice chat notifications. You can chat with other Zwifters to encourage them or coordinate for that next sprint. You may be alone in the basement, but you’re not alone on the ride.
To further encourage socializing with your fellow Zwifters, you can give and receive Ride On! Notifications. These take the form of a thumb’s up that gets stuffed into your jersey pocket. You can give a Ride On by hovering over a Zwifter’s name, then clicking on the Ride On icon when it appears.
ADVERTISEMENT
When you’re not busy socializing, you may want to gear up for a sprint, or a KOM. Both are sprinkled throughout each Zwift course, and they’re clearly indicated both on the course profile (a green dot indicates a sprint and a red checkered flag dot indicates an upcoming KOM segment) and on the course itself. If you beat everyone else’s time, you’ll be awarded a special jersey instantly: green for the top sprinter, and polka dot for the top climber. Or you can just try to beat your previous time, which Zwift tracks over the course of weeks.
These timed segments are great opportunities to use PowerUps. See that feather? Or the truck? Or the aero helmet? These round icons are clickable when you need them, and they give you advantages accordingly: The feather reduces your weight by 15 pounds for 15 seconds, which is useful on climbs; the van increases the drafting effect when you’re drafting another rider; and the aero helmet gives you an aero boost for 30 seconds. You can click on the icons to use them, or simply hit your spacebar.
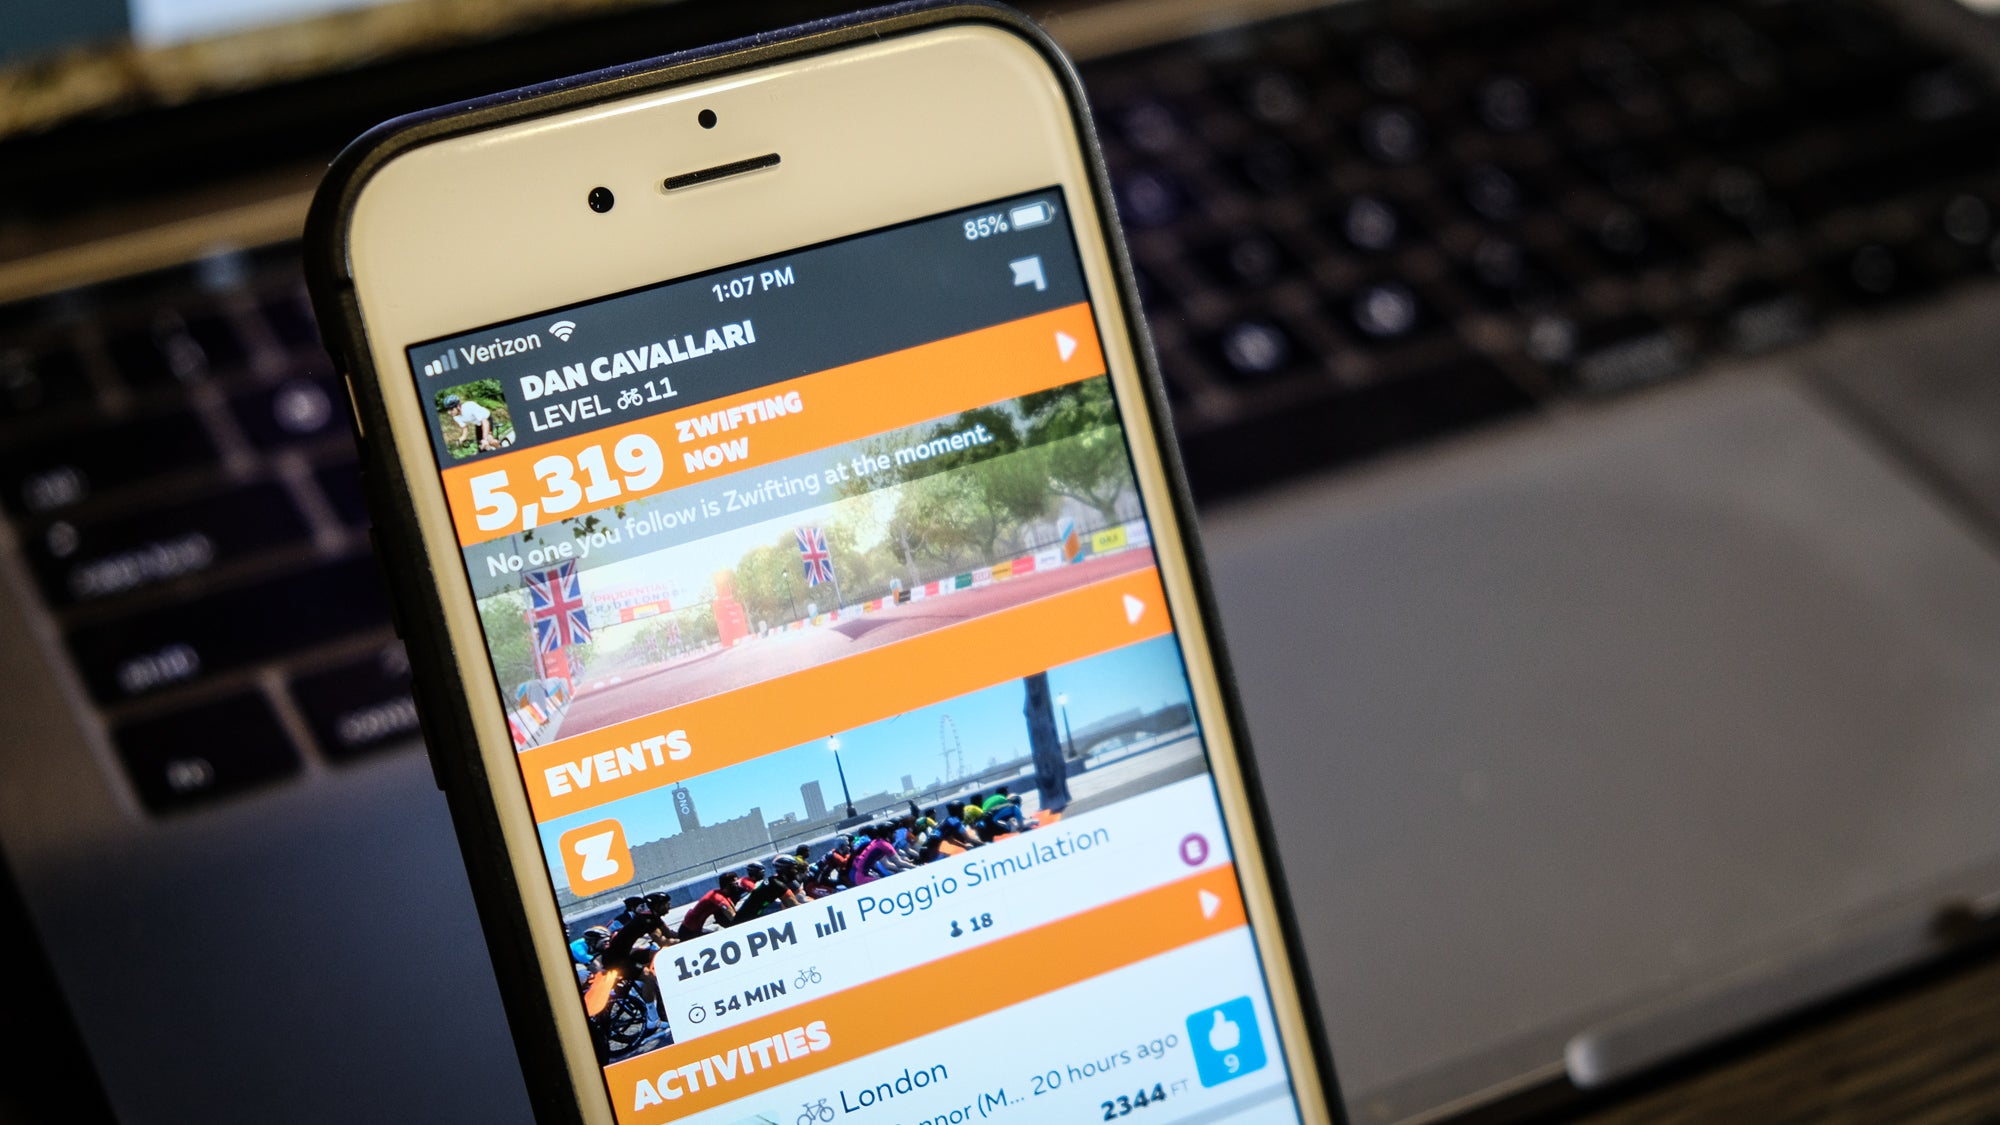
Downloading the Zwift Companion app opens up even more features. You can follow other riders and search for friends who also use Zwift. This allows you to ride with friends, see who’s riding right now, add a riding goal, and check out upcoming events. You can also control Zwift remotely: make U-turns, chat with other riders, or check out the map view.
ADVERTISEMENT
The companion app also includes the powerful Meetup tool. This allows you to set a time and place to meet up with your buddies on Zwift — up to 50 of them. You can even specify the distance and route of the ride.
The Enriched Activity Feed on the companion app gives you tons of data, including a graph that tracks your power data, cadence, and heart rate throughout your activity. Track your Ride On! activity, see where you hit PRs, and check your race results.
A Training Plan view also lets you see your entire training plan. Scroll to see your completed workouts, as well as what’s coming up. It’s a handy way to keep track of your progress and plan for what’s coming up in the next week or month.
Of course, it’s just as easy to simply forget all that and enjoy the scenery, go head to head with other riders, and watch the miles tick away faster than they ever did before when you were just staring at your washing machine in the dark basement. Be sure to check out all the different camera angles by pressing your number keys, 1 through 9, to see the action from just about anywhere.
ADVERTISEMENT
And don’t stay lonely in the basement. Join a group ride! Just sign up in the mobile app or in the game on your computer ahead of time. You can ride while you wait for the event to start, and Zwift will let you know when it’s time to join the group. You’ll be transported to a staging area, then the group goes off together. The group leaders will give you the skinny on what you should do and when (i.e., keep the pace here, take it down to 2.0 w/kg, go hard here!).
When you’re all done, just exit the ride screen to view a summary of your indoor session. Then, click “save” and “exit;” if you’ve connected your Strava profile, your ride will automatically upload and appear in your Strava account. That goes for any other compatible training programs you’ve linked to your Zwift account.
Now that you’ve got the basics, consider checking out some of Zwift’s marquee events, like the Tour of Watopia — a stage race that lets you unlock the Tour of Watopia avatar kit after completion — and the groundbreaking Zwift Academy. Sign up for these rides to qualify as a finalist, and score yourself a trip to a professional team training camp for your chance to sign a one-year pro contract. Spend a bit of time structuring a training plan to get you ready for your spring campaign, or get in on the action now by taking part in a Zwift race. There are endless possibilities for indoor fun and challenges, any time it suits your schedule.
ADVERTISEMENT
Last, but definitely not least: Wipe the sweat off your top tube. You want your bike clean and ready for tomorrow’s Zwift session.