Published July 2, 2013 08:28AM
Technical FAQ: Tubeless tires help
This week, Lennard Zinn provides instructions on how to mount road tubeless tires, and also has an update from a previous column
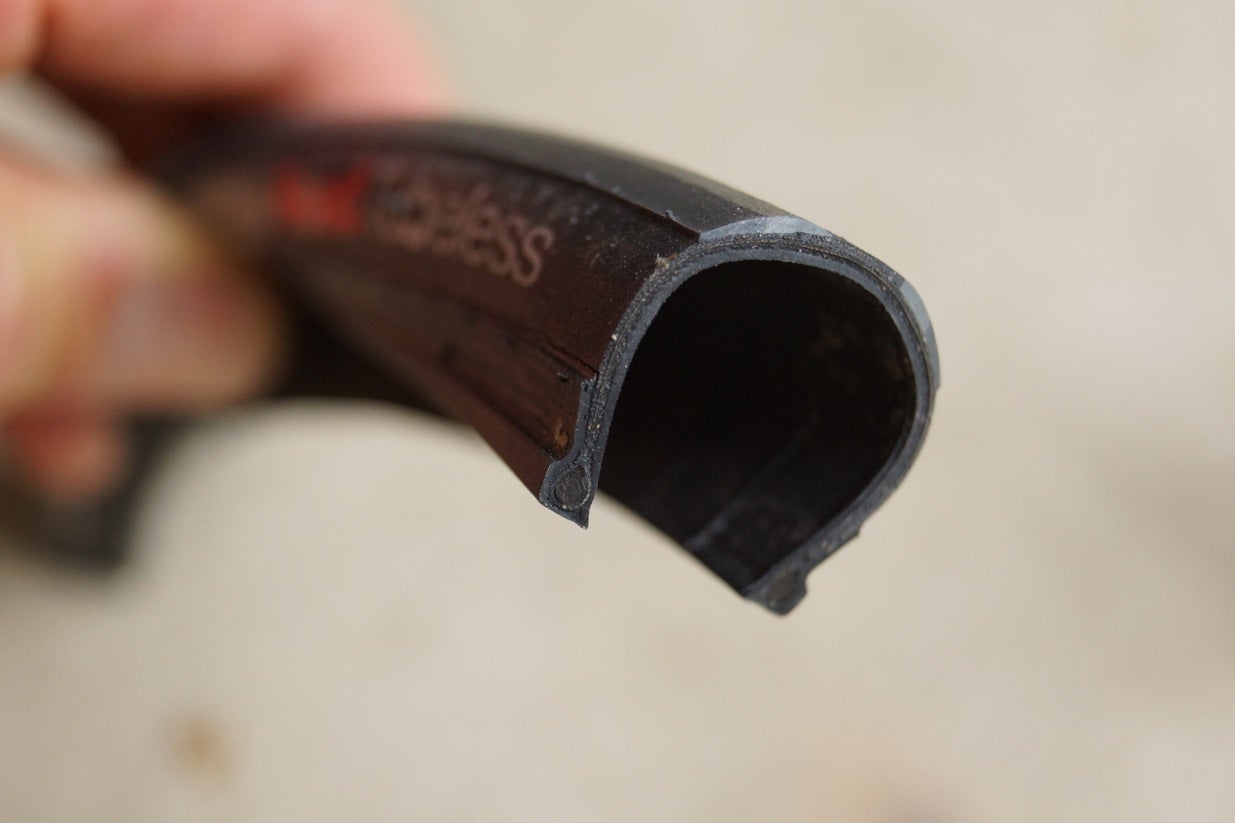
When done properly, installing a tubeless tire is a fairly simple process. Photo: Lennard Zinn | VeloNews.com
Help mounting road tubeless tires
Dear Lennard,
In a follow-up to your discussion on road tubeless, I am also a big fan of the road tubeless and have a set of the Dura-Ace scandium rims. I have been using various Hutchinson tire models and love the supple feel. Also, the general lack of punctures on the glass-filled Phoenix streets is great plus.
Although I have to admit, I really dread when the tires finally wear out or get a puncture too big to seal because of the difficulty that I have with the initial setup for the new tires. Getting the tire beads to seat for the first time always causes me problems. I have watched various YouTube videos, etc. and it never seems to go that smoothly for me. Even when I add Stan’s [tire sealant] through the removable valve core and use a compressor, I seem to just spray sealant all over the place from around the rim and the bead will not pop into place. I have also blown some pretty sweet giant bubbles using dish soap like some people suggest. Can you offer any other tricks or suggestions?
— JH
Dear JH,
I have had this problem with tubeless cyclocross tires but never with tubeless road tires. And I just squirt some Stan’s or Caffélatex into the tire when there are only a couple inches of bead left to mount. Going through the valve core should be even easier.
A couple things come to mind. One is that you’re making sure that both beads are at least seated adjacent the valve before you start inflating it. I do this by loosening the valve collar and pushing the foot of the valve up into the interior of the tire after the tire is on the rim. Then I tighten the valve collar down (I also put sealant around the valve hole to seal its base). When I tighten the collar down, it pushes the beads up onto the bead ledges with the valve base between them. That ensures that air can’t blow straight out of the valve around the bead.
ADVERTISEMENT
The second thing is that perhaps the folds in the bead from being folded in the package are letting air out rather than pushing the tire onto the bead ledge. One way to improve the bead shape for mounting is to first mount it with an inner tube inside, inflate it to 100psi, and let it sit for awhile before removing it and re-mounting it tubeless.
― Lennard
Tubeless (and clincher) mounting, step-by-step
Dear Lennard,
I have a question about mounting tubeless road tires on tubeless road rims. I have a Dura-Ace Wh-7850 tubeless wheelset but am no longer able to run them tubeless. I had a flat on a ride recently and was unable to re-seat the tire, which left me stranded. Later at home, I even struggled to mount and seat the tires (Hutchinson Intensive) on these rims. I can mount clincher tires no problem, but the strength and leverage required to mount the tubeless tires is beyond me. I have to resort to using metal tire levers, which is not recommended, but it was the only way I could do it, and I’m worried about ruining the rim as well as the tire bead. Is there a secret to mounting tubeless tires? Are other rims (e.g. Stan’s) easier to mount tubeless tires to? Are the tolerances and clearances different for different manufacturers?
— Todd
Dear Todd,
It sounds to me like you may not be finishing at the valve when mounting the tire as described below. Make sure you’re doing it like this:
1. Install the valve into the rim, making sure that the rubber washer on the outside and rubber seal on the inside are properly seated. Put some sealant (like Caffélatex or Stan’s NoTubes) around the valve hole before installing the valve. You need not tighten the valve collar fully yet, as you’ll do that later.
ADVERTISEMENT
2. Wet the tire edges either with water alone or with soapy water on a sponge.
3. By hand, push one bead of the tire onto the rim, starting opposite the valve stem and finishing at the valve stem to minimize the rim’s mounting circumference (see below).
4. Starting opposite the valve stem (again, see below for why), push the second tire bead onto the rim with your thumbs.
5. Work around the rim in both directions toward the valve with your thumbs, pushing the tire onto the rim. Finish from both sides at the valve. The Pro Tip on tire removal and installation explains why you should finish at the valve. Using this method, you should be able to mount the tire without tools. If not, use tire levers but make sure you use plastic levers with no sharp edges (like Hutchinson StickAir), finishing at the valve.
6. Make sure that the beads are well down into the channel of the rim.
ADVERTISEMENT
7. Loosen the valve collar nut and push the valve up so its base is shoved up into the interior of the tire between the tire beads. Tighten the collar nut so that the valve seats while forcing the tire beads into place atop their rim ledges.
8. Install sealant and inflate the tire with a high-volume floor pump, air compressor, or gas cartridge to 120 psi maximum. A small hand pump probably will not push enough air volume fast enough to get the beads to seat; air will leak out around the edges while you pump until you’re blue in the face. You may find that you need the air compressor or cartridge to seat the tire.
I recommend one of two methods to inflate the tire the first time: use either an aerosol sealant or a liquid sealant. Method 1 is to pour in a couple of tablespoons of liquid sealant while mounting the tire at the point where there are only a few more inches of the second bead to push on the rim. Method 2 is to use a Stan’s or Caffélatex valve, which have removable valve cores, and put the sealant in as is. Method 3 is to inject a thinner sealant (Caffélatex works) through the valve, with the valve core in place, using a syringe. Method 4 is to inject sealant and inflate the tire through the valve with a with a sealant-filled aerosol canister like Hutchinson Fast’Air or Vittoria Pit Stop.
ADVERTISEMENT
8. Spin the wheel and ensure that the tire is aligned properly and has no bulges or places where the bead is not fully seated.
Removal of a clincher or tubeless tire is most easily accomplished by starting near the valve stem, and, as I said above, tire installation is similarly best accomplished by finishing at the valve stem. That way, the beads of the deflated tire can fall into the dropped center (valley) of the rim on the opposite side of the wheel, making it effectively a smaller-circumference rim.
If you instead try to push the tire bead off (or on) the rim on the side opposite the valve stem, the circumference on which the bead is resting is larger, because the valve stem is forcing the beads to stay up on their seating ledges opposite where you are working. Adhering to this method is particularly critical with a tubeless road tire, because the bead is very tight, it does not stretch at all (being carbon fiber), and you install the tire without tire levers to avoid damaging the tire’s edges that seal the air inside.
ADVERTISEMENT
With a standard (i.e., non-tubeless) clincher tire, there is another reason to finish at the valve stem, since a possible pitfall when installing a tire is ending up with a bit of inner tube trapped under the tire bead where you finished pushing the tire onto the rim. First, take the appropriate precaution of having some air in the tube to keep it from twisting and getting under the bead as you push the tire on, finally deflating it only when it prevents you from getting the final few inches of the tire bead on. However, the edge of the flat tube can slip under the bead edge as it pops into the rim at that point.
When you pump it up to pressure, it may immediately blow the tire off the rim (temporarily deafening you; the explosion is very loud) or it may explode later on a ride. In either case, you will have an unpatchable tube with a long rip down its length, possibly endangering your life if the tire blows at high speed on a turn.
You can minimize explosions and flats by finishing the tire installation at the valve stem. Again, the edge of the deflated tube may slip under the tire bead as you push the last bit on. But pushing up on the valve stem after the tire is on can pull the adjacent sections of inner tube completely into the tire chamber and ensure that none is caught under the edge, waiting to blow the tire off the rim. Always inspect around the tire bead before inflating.
― Lennard
Patching help for tubeless tires
Dear Lennard,
I converted my Easton EA90 SLX wheels to tubeless using a Stan’s conversion kit and Hutchinson Fusions. I broke a rear spoke on a slight downhill, which popped through the rim tape and punctured the tire from the inside. The tire stayed on the rim and I stopped under control. I tried patching the tire, replaced the rim tape, and put the original rim strip over the tape for some (weak) insurance. It held up for a few weeks until the patch failed. I also put the front rim strip on as well. I’m concerned now that using the OE rim strip will compromise the set-up. What do you think?
— Gary
Dear Gary,
Interesting question. I guess I’d be concerned that the OE Easton rim strip might give the tire more opportunity to leak, just from the additional layer that was not designed to be an air seal. I would instead recommend putting layers of fiberglass strapping tape over the spoke holes under the Stan’s rim strip.
― Lennard
ADVERTISEMENT
Reader feedback on ‘Stubborn front shifting on a GT Zaskar’
Dear Lennard,
Hey, saw this and I thought I’d chime in that once or twice in these kinds of “shifting totally doesn’t work at all for no discernible reason” scenarios I’ve run into, the problem has been that the bike has un-housed internally routed shift cables in the downtube (i.e., the housing stops where the cable enters the frame), and cables are twisted around each other so that shifting one affects the tension of the other. I don’t know the cable design of the bike in question, but it’s a thought.
— Nate
Dear Nate,
Good point!
― Lennard
Dear Lennard,
It doesn’t say whether Caleb tried this or not on the poor shifting front on the GT Zaskar with the SRAM 2×10, but I’ve found that if my chain is too short I’ll experience the same type of shifting problems, depending on the position of the chain on the rear cassette. I see that Caleb has said he replaced chains, but if he’s measuring them off of the previous chain, it could always end up too short. Even adding two links could make the difference.
— Chris
Dear Chris,
Good idea.
― Lennard
Dear Lennard,
All your articles are greatly appreciated, however this problem is extremely interesting. Please keep us all informed about the outcome. My money is on the inner ring being inside out.
— Art
Hear that, Caleb? Let us know if something works.
― Lennard