Published June 17, 2020 07:00AM
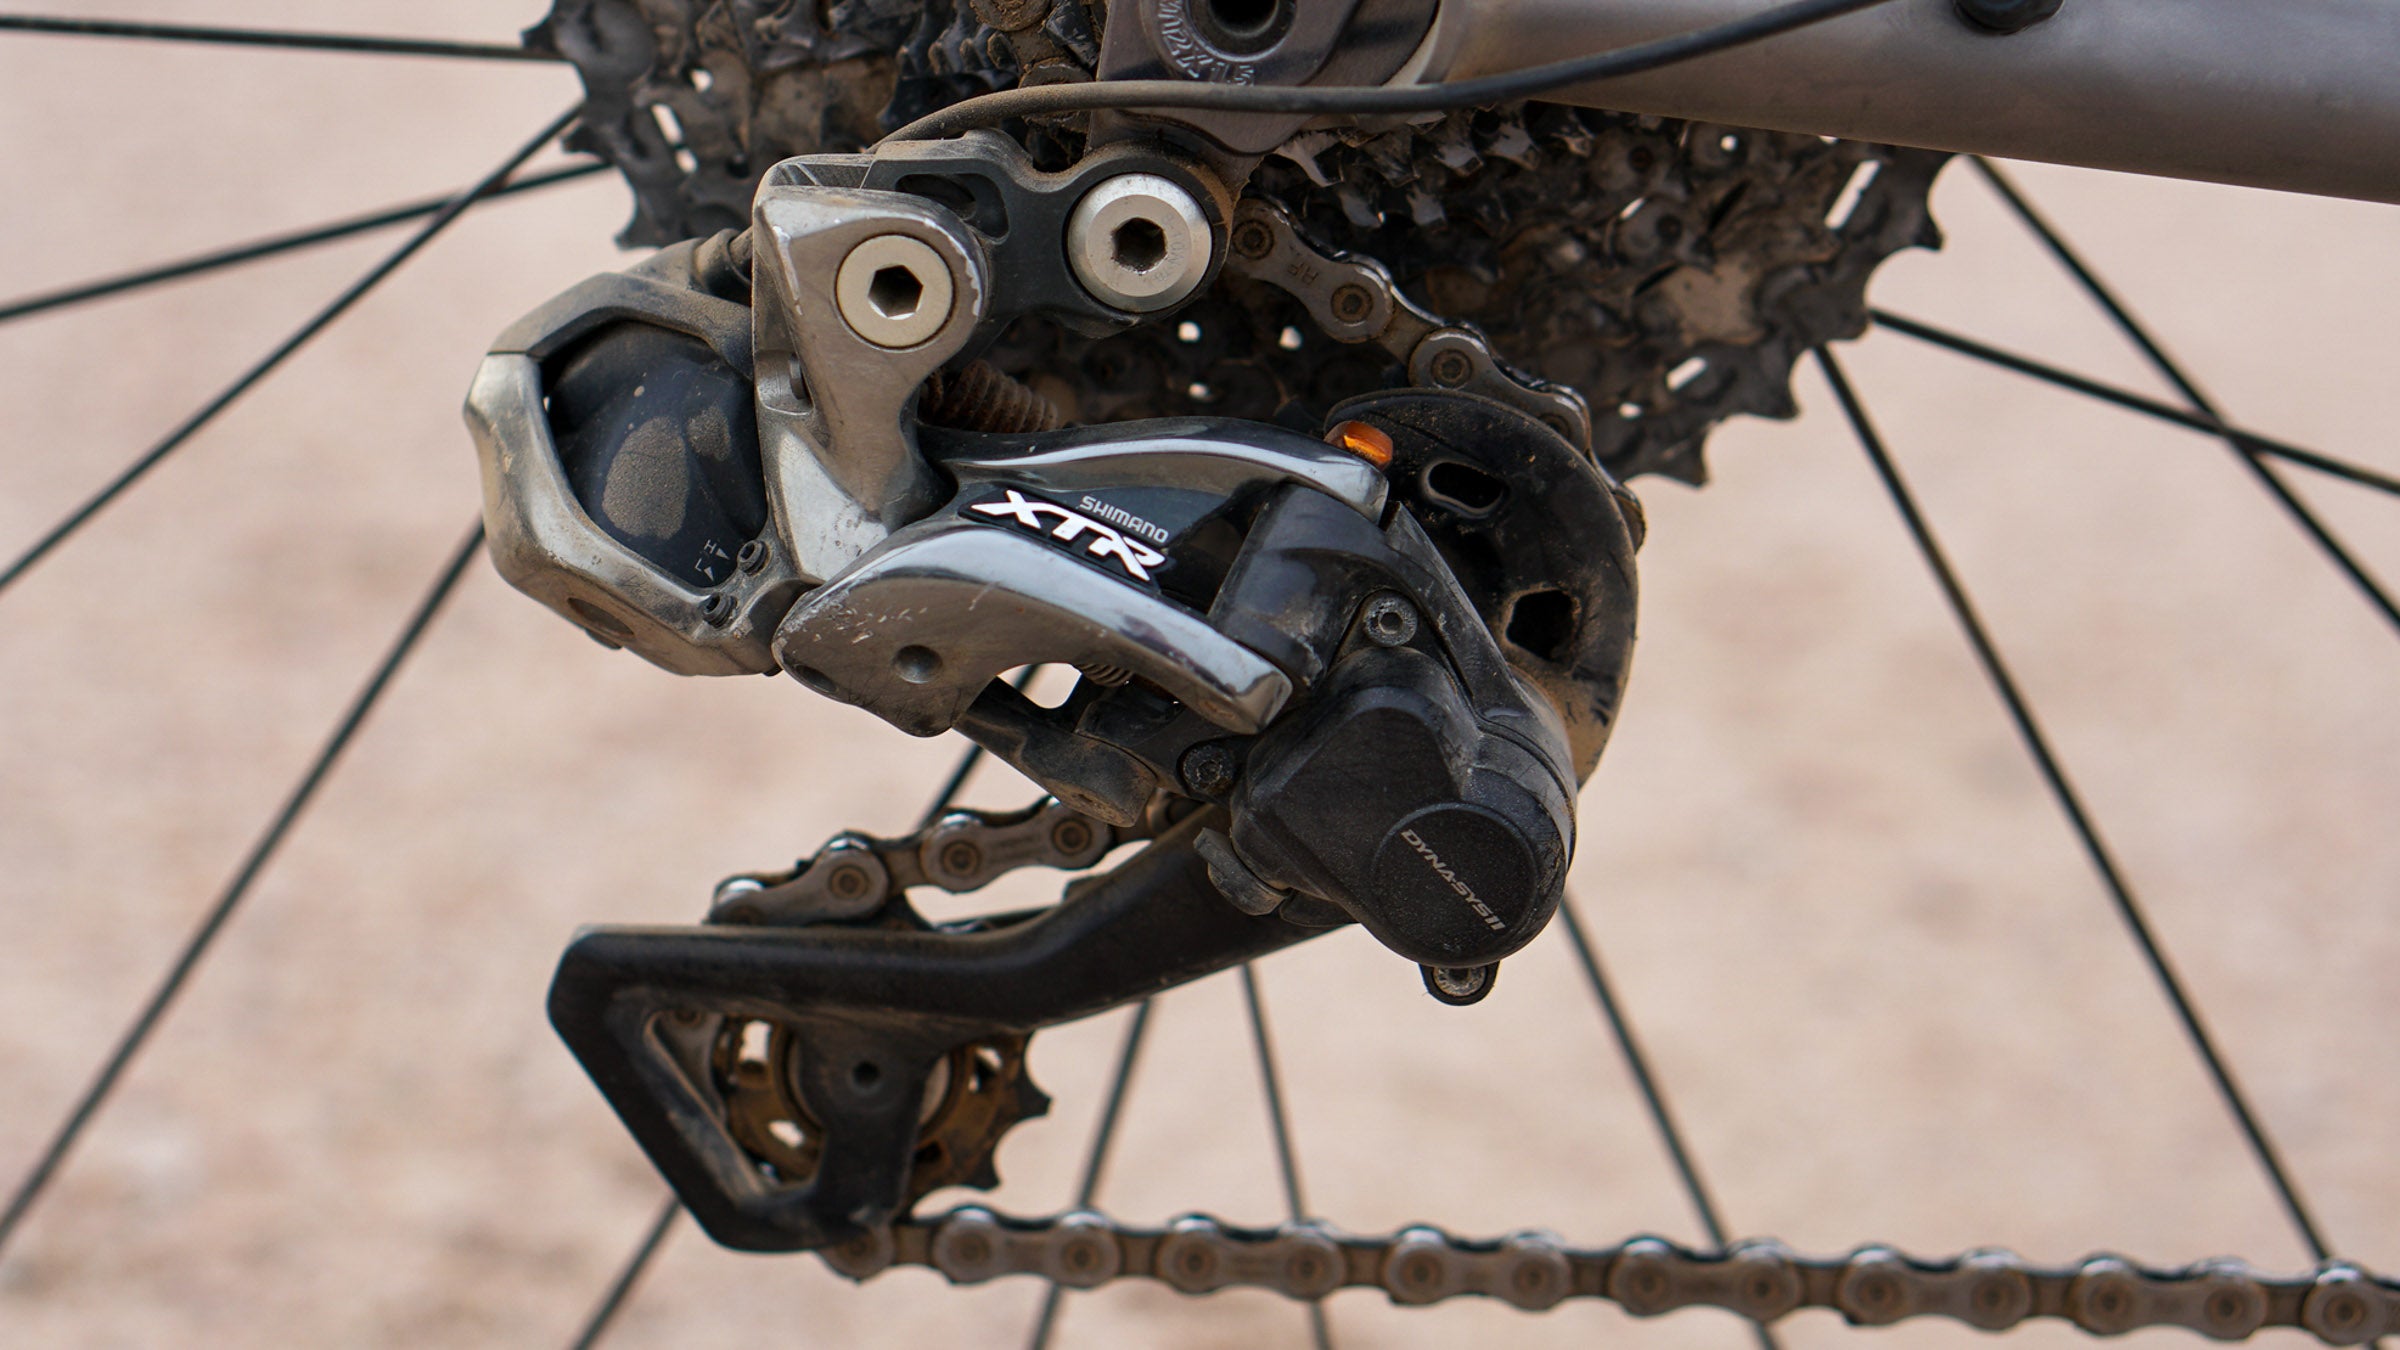
Bike repair basics: Adjusting a Shimano rear derailleur clutch
Maintain and adjust the rear derailleur clutch so it can do its job in any terrain and trail condition.
A tighter clutch increases chain retention—you want this in mud as well as in bumpy gravity riding. On the other hand, a tighter clutch makes for a heavier downshift (to larger cogs) and harder multi-shifting. Turn the clutch off with the clutch lever switch for light, quick shifting feel when riding on smooth surfaces. Follow these steps to fine-tune the clutch action; it also gives you a chance to look for dirt and grime where it doesn’t belong.
- Turn the clutch lever switch to “on.” It is atop the clutch housing.
- Open the cover over the adjustment screw. It’s on the bottom of the clutch housing. Older models have a plastic cap; turn it counterclockwise one-eighth turn to line up the notches in the cover with the tabs on the housing, and pull it straight off. Newer models have a rubber cover you just flip open; its retaining leash keeps it from getting lost. If the derailleur is missing its cover, get a new one! Without the cover, the clutch will fill with water and dirt and will rapidly cease to function.

Opening plastic twist-type clutch-adjustment-screw cover (left) or a leashed, rubber adjustment-screw cover (right).
- Turn the adjuster screw. Reach in where the cover was with a 2mm hex key to turn the screw; clockwise tightens the clutch. Apply very low torque on this screw; just turn it with the short end of the hex key with fingertips or with a tiny torque wrench, not exceeding 0.25 N-m of torque. The tighter the clutch, the less the chain can bounce when hitting bumps, and the harder the push it takes to shift.
- Check the adjustment with a torque wrench. This is most easily done with a digital or beam-type torque wrench, but you can also use a clicker-type torque wrench by trial and error. Older models require a 5mm hex key; newer models take a Torx T30 key. The hex or Torx hole is on the inner cage plate, adjacent the upper jockey-wheel bolt. With the Torx T30 or 5mm hex bit in the hole, turn the wrench handle clockwise. With a digital or beam-type torque wrench, read the setting when the jockey-wheel cage starts to rotate. With a clicker-type torque wrench, set it to 4 N-m, and turn it clockwise. If the jockey-wheel cage rotates, back off the torque setting and try again. Repeat until it just doesn’t turn the cage; the proper clutch torque will be the last setting on your wrench before this final try. If the cage instead doesn’t rotate at your first torque setting, increase the torque and do this trial and error in an increasing direction.

Checking clutch torque.
- Set the clutch torque. It should be in the range of 3.5–5.4 N-m; gently turn the clutch adjuster screw with the 2mm hex key clockwise to increase clutch torque, and vice versa to decrease it. If you can’t get to the clutch-torque setting you want without tightening the tiny adjustment screw tighter than 0.25 N-m, there must be grease on the clutch shaft (a no-no) or the cam is in the wrong position; overhaul the clutch to fix it.
- Replace the adjustment-screw cover. If there is a rubber leashed cover, flip it closed. With a plastic cover, line up the notches on the cover and the tabs on the housing, and turn the cover clockwise until its central rib is parallel to the face of the clutch housing.
ADVERTISEMENT
Adapted from Zinn & the Art of Mountain Bike Maintenance, 6th edition, by Lennard Zinn with permission of VeloPress.